A Step-by-Step Guide to Planning Your Concrete Installation Project
A Step-by-Step Guide to Planning Your Concrete Installation Project
When planning a concrete installation project, whether it's a new driveway, patio, or foundation, careful preparation is key to ensuring a smooth and successful process. By following a step-by-step approach, you can ensure that your project is completed on time, within budget, and to the highest standards. Below is a comprehensive guide to help you navigate through the planning and execution of your concrete installation project.
1. Determine Your Budget
Before diving into any construction project, establishing a budget is crucial. Concrete installations vary in cost depending on the size of the project, the complexity of the design, and material requirements. Get an estimate of costs by researching prices for materials, labor, and additional factors like excavation or site preparation. Don’t forget to factor in a buffer for unexpected costs. This will help you set a realistic budget for your project.
2. Define Your Project Scope
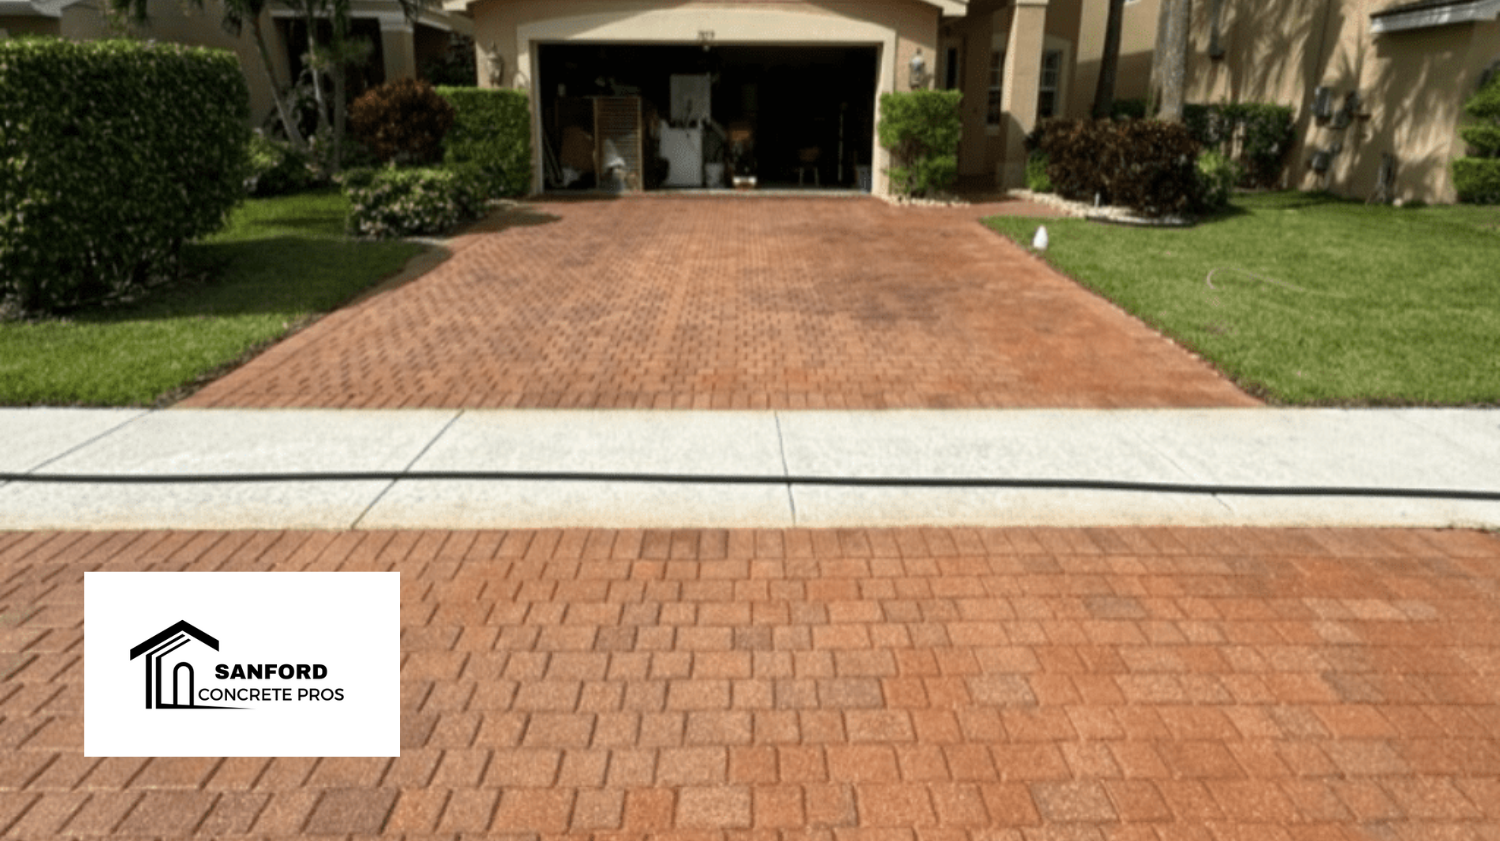
Once you have a budget in mind, outline the specifics of your concrete project. Are you installing a driveway, a patio, or a custom concrete feature? Will the concrete be decorative (stamped or stained), or purely functional? Clearly defining the scope of your project helps contractors understand your needs and provide accurate quotes.
3. Choose the Right Contractor
Selecting the right contractor is one of the most critical steps in your project. Look for a contractor with strong references, relevant experience, and the proper licensing and insurance. It's a good idea to get quotes from at least three different contractors to compare pricing and services. Be sure to ask about their experience with similar projects and the types of concrete finishes they offer.
4. Plan for Permits and Regulations
Depending on the size and location of your project, you may need to obtain permits before beginning construction. Check with your local city or county building department to ensure compliance with regulations. In some areas, concrete installations such as driveways or retaining walls may require special approvals, particularly if they affect public property or drainage systems.
5. Prepare the Installation Site
Proper site preparation is essential for a successful concrete installation. This includes clearing the area, removing any old materials (such as an existing driveway or patio), and ensuring the ground is level. Excavation may be necessary for some projects, and the soil may need to be compacted to create a stable base. Some contractors offer site preparation services, while others may require you to handle this step independently.
6. Select the Right Concrete Mix and Design
Concrete comes in various mixes, each suited to different types of projects. For example, the concrete mix used for a patio may differ from that used for a driveway or foundation. Work with your contractor to select the right mix for your project’s needs. If you're considering decorative options like stamped or stained concrete, now is the time to choose patterns, textures, and colors to ensure your project aligns with your aesthetic goals.
7. Schedule the Installation
Concrete installation requires optimal weather conditions, particularly in areas like Florida where temperature and humidity can affect the curing process. Coordinate with your contractor to schedule the installation during a time when weather conditions are most favorable for concrete pouring and curing. For Sanford, FL, it’s best to avoid peak summer heat or periods of heavy rainfall, as extreme conditions can impact the concrete’s longevity.
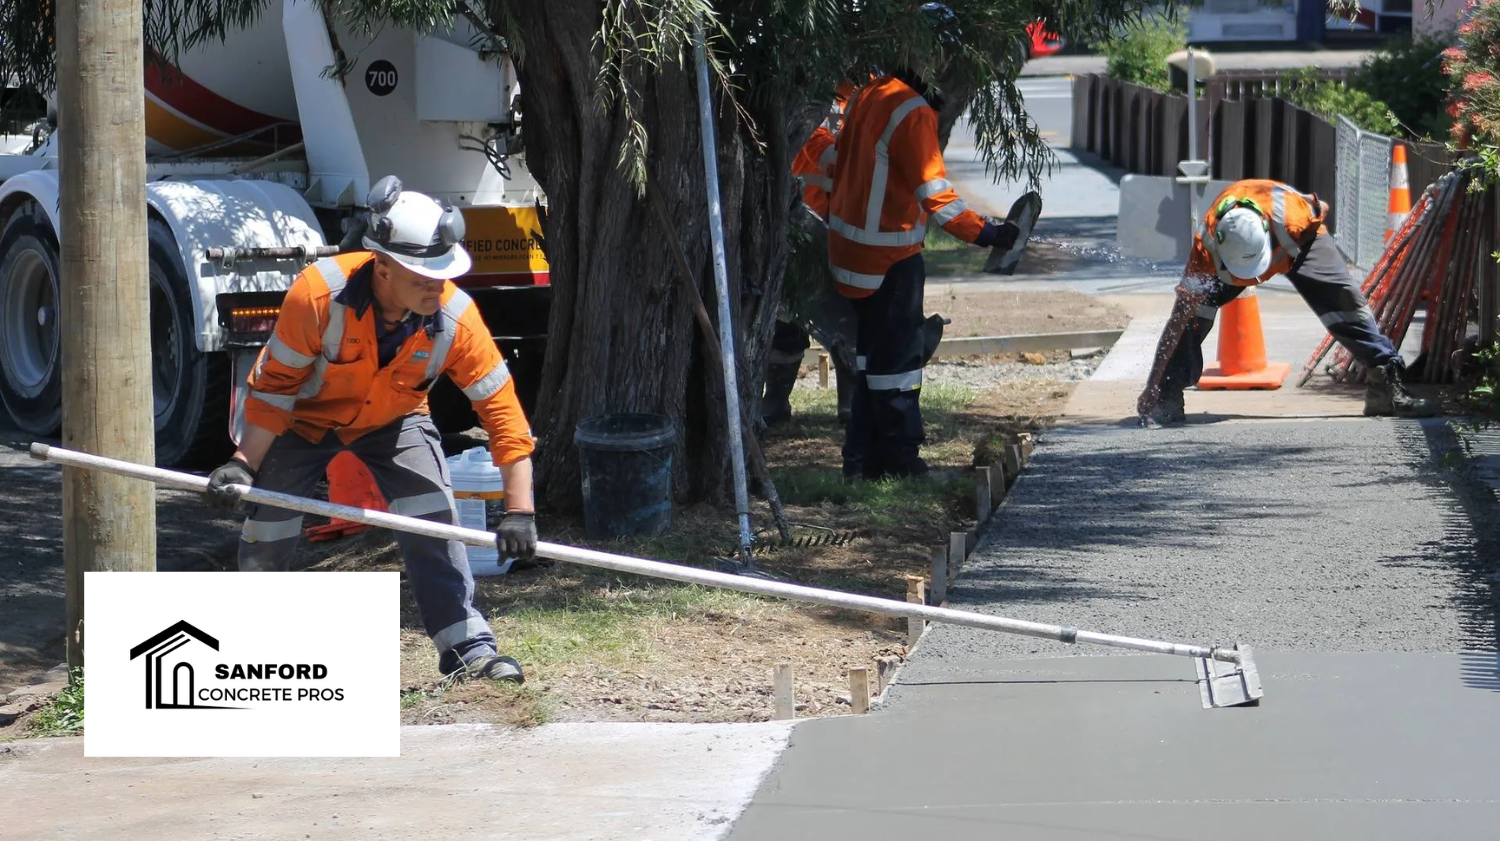
8. Monitor the Pouring and Curing Process
On the day of the installation, your contractor will handle the concrete pouring and leveling process. It’s important to ensure that the concrete is poured evenly and properly compacted to avoid issues like cracking or settling. After the concrete is poured, the curing process begins, which typically takes 28 days to reach full strength. During this period, it’s essential to keep the concrete moist and protected from extreme weather.
9. Finish and Seal the Concrete
Once the concrete has cured, you can apply a concrete sealer to protect it from the elements and extend its lifespan. Sealing prevents moisture penetration, reduces cracking, and enhances the appearance of decorative concrete finishes. Most contractors offer sealing services, but it’s also something you can do yourself if you’re looking to save on costs.
10. Maintain Your Concrete
After your concrete installation is complete, regular maintenance will help preserve its durability and appearance. Clean your concrete surfaces regularly, apply sealant as needed, and address any minor repairs to prevent small issues from becoming larger problems.
By following these steps, you can successfully plan and execute your concrete installation project, ensuring that it meets both your aesthetic and functional needs. From budgeting and choosing the right contractor to selecting the perfect concrete mix, thorough planning is key to achieving long-lasting results.